I'm going to show you how I colored this super cute image for the OWH blog hop card I made. You already know I got the image from Sassy Cheryl's and it's free so you can get one for yourself and try it! I'm not claiming to be a Copic expert, I'm just sharing how I colored this card.
Here is the image before I put any color on it:
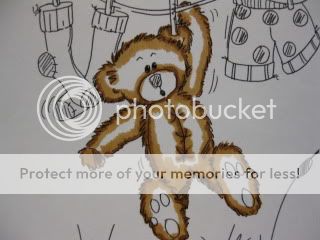
I'm going to color the bear with a combination of three brown colors, a dark, a medium and a light. I'm using E37, E34 and E31. In general when using Copics, you want to stay in the same color family with shades a couple of digits apart so you get the contrast but they still blend well. I always start with my darkest color and in this case, the artist has already drawn some detail lines on the bear to give you an idea of where the darker spots will be...generally that's inside the ears, around the legs and arms, along the side.

Here is where I colored with the E37 . If you look closely, you'll see that I colored with the dark color in a flicking motion to keep the furry look to the perimeter of the bear. I didn't want to draw a solid line of color around the outside and possibly lose the furry look. Next, I took the medium shade and filled in most of the rest of the bear. I colored along and slightly overlapping the darker color to get some blending. I left some white space to be filled in later with the lightest color. Here is where I colored with the E34:
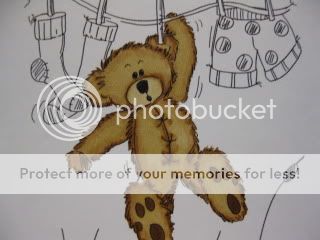
You can still see a distinct line of E37 and that's fine because the blending will come in the next step. Take your E31 and color in small circles around the entire bear until it is as blended as you would like. I also colored the whole snout in E31.
I filled in the nose with 110 (black) and the pads of the paws with E37
Now I look at the bear and decide if I need to add more shading anywhere. I decided that it needed to be darker under his chin and on his legs and a little bit around his arms. I added some E34 and then blended again with the E31. I also blended more around his snout and sides because the line looked too harsh to me.
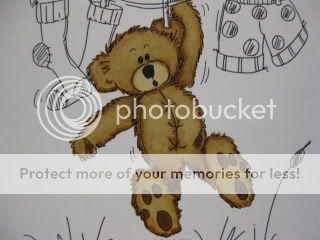
At this point I'm pretty happy with the bear but that's one of the great things about Copics-that you can go back at any time and add color and blend until you are happy with the result.
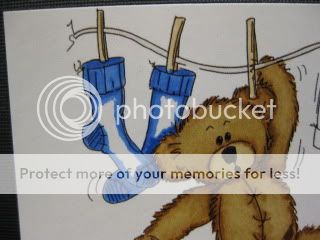
The next picture shows that I colored the clothesline with W1 and the clothespins with a combination of E53 and E55. Along the backsides of the clothespins is where I used the darker color E55 and the front was just a quick flick of the E53. I've also started on the socks. I'm using a combination of B26, B24 and B21. This picture shows where I put the B26. Again, the artist's detail lines help to decide where the darker colors go.
Next I add the B24, again coloring up to and slightly over the B26 areas.
And now fill in with the B21, again coloring in small circles over the entire area to really blend the colors together.
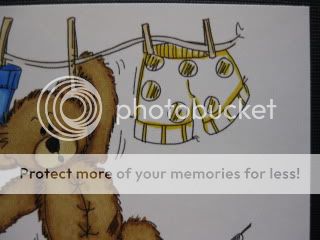
Now on to the shorts. Here I used a combination of Y17, Y15 and Y11. I used the darker color around the outside of the shorts and in the areas I wanted to have some darker contrast:
Now using the Y15 I colored up to and slightly over the parts I colored with Y17 leaving some areas white so I could color that with my lightest color later.
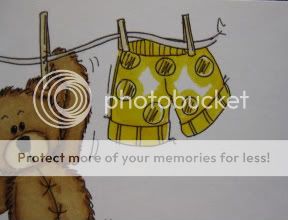
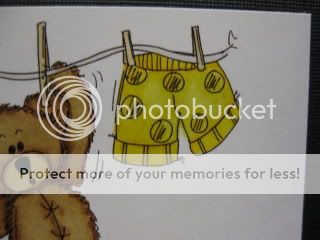
Using Y11, I colored the white areas and blended the rest of the colors together by coloring in small circles with my lightest color. You don't get a lot of contrast with the yellows I used. You can see it better in person.
Finally, coloring the grass. I used YG17, YG 13 and YG11 for the grass. The area directly under the bear is going to be darker because he is casting a shadow over the grass. For grass I use flicking strokes of the marker as well to mimic the look of the blades of grass.
Next I fill in with the lighter colors of YG13 and YG11 trying to keep the lightest colors towards the front and the sides- away from the shadow of the bear:
And the final product, which you saw on my OWH bloghop card:
I hope you found this tutorial helpful!